
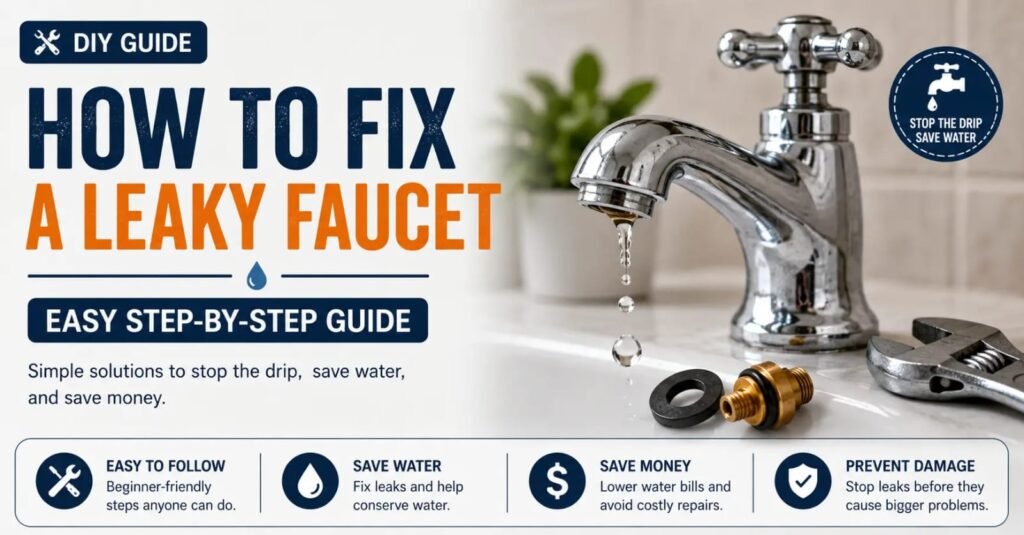
A leaky faucet may seem like a small problem, but that constant dripping can waste water, increase your water bill, and become annoying over time. The good news is that many common faucet leaks can be fixed at home with a few basic tools.
In this guide, we’ll walk you through the simple steps to identify the problem and fix a leaking faucet safely.
Why Is My Faucet Leaking?
A faucet can start leaking for several reasons. Some of the most common causes include:
- A worn-out washer
- A damaged O-ring
- A loose faucet component
- A worn cartridge
- Mineral buildup around internal parts
Before replacing the entire faucet, it is worth checking these common problems first.
Tools You May Need
Keep a few basic tools ready before starting:
- Adjustable wrench
- Screwdriver
- Replacement washer or O-ring
- Cleaning cloth
- Small container or bowl
- Plumber’s grease, if required
The exact replacement part depends on the type and model of your faucet.
Step 1: Turn Off the Water Supply
Before taking apart the faucet, turn off the water supply.
Look underneath the sink for the hot and cold water shut-off valves and turn them clockwise. Then open the faucet to release any remaining water.
This helps prevent water from spilling while you work.
Step 2: Cover the Drain
Place a drain stopper or cloth over the sink drain.
Small screws and other faucet parts can easily fall into the drain while you’re working.
Step 3: Remove the Faucet Handle
Carefully remove the decorative cap from the faucet handle, if present.
Use the appropriate screwdriver to remove the handle screw. Then gently lift the handle away from the faucet.
Avoid using excessive force, as older components may be fragile.
Step 4: Inspect the Washer, O-Ring or Cartridge
Once the handle is removed, inspect the internal components.
Look for:
- Cracked or flattened washers
- Damaged O-rings
- Worn cartridges
- Corrosion
- Mineral deposits
If a component looks damaged, replace it with a matching part designed for your faucet.
Step 5: Clean the Components
Mineral deposits and dirt can sometimes prevent faucet components from sealing correctly.
Clean accessible parts carefully with a soft cloth. Avoid damaging seals or scratching finished surfaces.
Step 6: Replace the Damaged Part
Install the new washer, O-ring, or cartridge in the same position as the old one.
Make sure the replacement part is the correct size and type. Using an incorrect part may cause the faucet to continue leaking.
Step 7: Reassemble the Faucet
Put the faucet components back together in the reverse order.
Tighten everything securely, but don’t overtighten screws or fittings.
Step 8: Turn the Water Back On
Slowly reopen the water supply valves underneath the sink.
Turn on the faucet and allow the water to run briefly. Then turn it off and check whether the dripping has stopped.
Also check underneath the sink for any unexpected leaks.
Common Mistakes to Avoid
Don’t start disassembling the faucet before shutting off the water supply. Also avoid forcing stuck components or buying replacement parts without checking their size and type.
Taking a quick photo of the faucet components before removing them can make reassembly much easier.
When Should You Call a Plumber?
A simple washer or cartridge replacement can often be handled at home. However, professional help may be appropriate if the faucet is severely corroded, the leak comes from the plumbing below the sink, a valve is damaged, or the problem continues after replacing the obvious worn parts.
Frequently Asked Questions
Can I fix a leaking faucet myself?
Many common faucet leaks caused by washers, O-rings, or cartridges can be fixed with basic tools. More complicated plumbing problems may require a professional.
Why does my faucet still drip after replacing the washer?
The problem could involve another component, such as the O-ring, cartridge, valve seat, or another worn internal part.
Should I replace the faucet instead of repairing it?
If the faucet is old, badly corroded, repeatedly leaking, or replacement parts are difficult to find, replacing it may be more practical.
Final Thoughts
Fixing a leaky faucet can be a simple home repair when the problem is caused by a worn or loose component. Start by shutting off the water, identify the damaged part carefully, and use the correct replacement.
If the leak continues or you’re unsure about the repair, getting help from a qualified plumber is the safer option.