

A dirty gas stove can make your kitchen look messy and cause grease, food crumbs, and burnt residue to build up around the burners. Learning how to clean a gas stove properly helps keep your cooking area fresh, hygienic, and easier to maintain.
The good news is that you do not need expensive cleaning products for everyday maintenance. With warm water, dish soap, a soft sponge, and a little patience, you can remove most everyday grease and food stains.
In this guide, you will learn how to clean a gas stove step by step, remove stubborn grease, clean burner grates safely, and avoid common mistakes that may damage your appliance.
Why Is It Important to Clean Your Gas Stove Regularly?
Cleaning your gas stove is important for several reasons:
- Removes grease buildup: Prevents sticky oil and food residue from accumulating.
- Keeps burners clear: Food debris can block burner openings and affect flame performance.
- Improves kitchen hygiene: Removes food particles that may attract insects.
- Protects the stove surface: Regular cleaning helps prevent stubborn stains.
- Makes future cleaning easier: Fresh spills are usually easier to remove than old, burnt-on residue.
For the best results, wipe up spills after cooking once the stove is safely cool, and give it a deeper clean whenever grease begins to build up.
For more kitchen cleaning tips, read our guide on how to clean a kitchen safely and effectively.
What You Need to Clean a Gas Stove
Before you start, gather these simple cleaning supplies:

- Warm water
- Mild dishwashing liquid
- Soft microfiber cloth
- Non-abrasive sponge
- Soft cleaning brush or old soft-bristled toothbrush
- Dry towel
- Baking soda for stubborn stains, if suitable for your stove’s surface
Safety tip: Turn off all burner controls and allow the stove to cool completely before cleaning. If your stove has a separate gas shutoff valve, follow the manufacturer’s instructions for safely isolating the gas supply. Never clean a hot stove.
How to Clean a Gas Stove in 7 Easy Steps
Step 1: Turn Off the Stove and Let It Cool
First, make sure every burner is switched off. Allow the stove, burner caps, and grates to cool completely before touching or removing them.
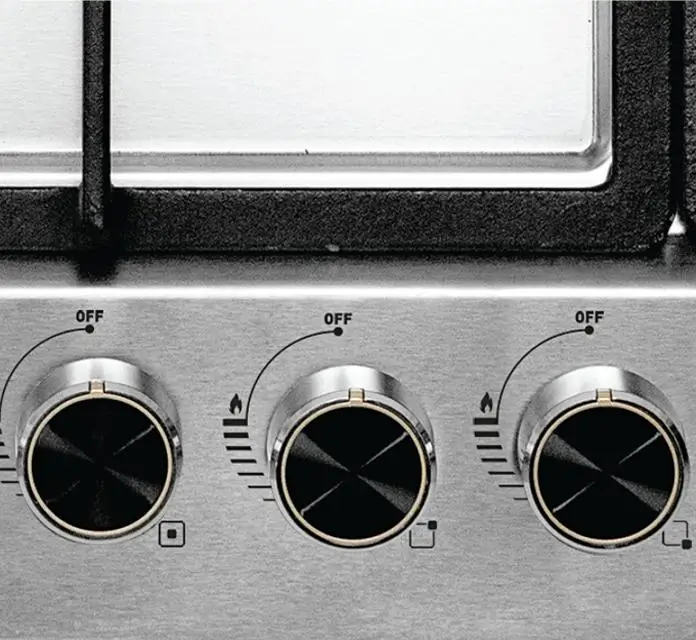
If you have a gas leak or smell gas, do not attempt to clean the stove. Avoid operating electrical switches or creating flames, leave the area, and contact your local gas emergency service from a safe location.
Once the stove is cool, remove any loose crumbs or food particles with a dry cloth.
Step 2: Remove the Burner Grates and Caps
Carefully lift off the removable burner grates and burner caps according to your stove’s instruction manual.
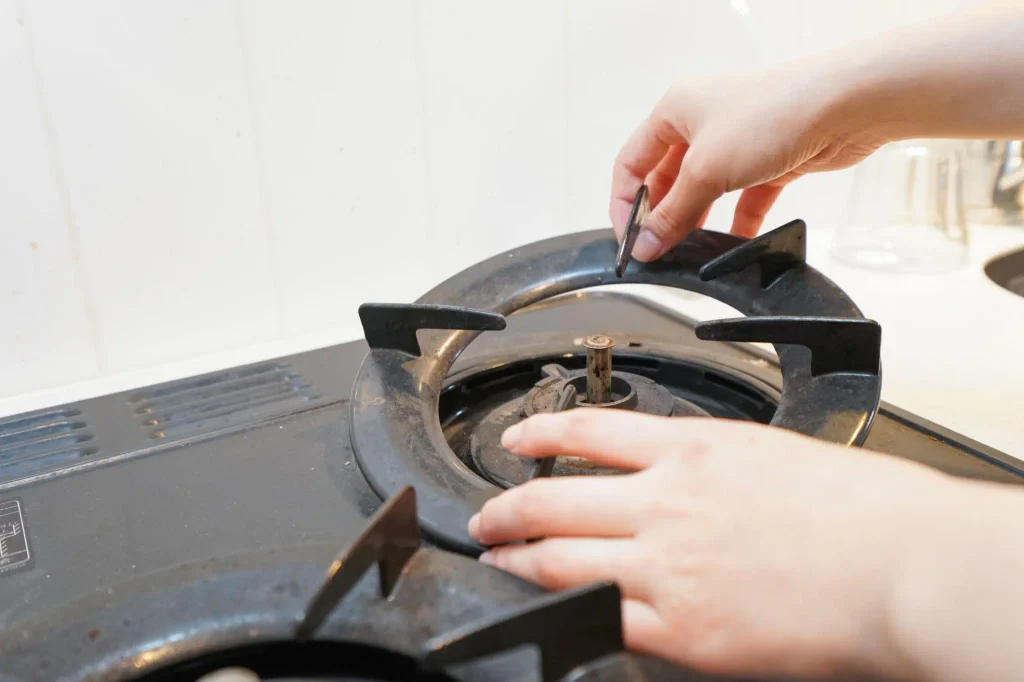
Place these parts near the sink. Do not force any component that does not lift off easily.
Keep each burner cap with its corresponding burner so you can reinstall it correctly. Some components have specific cleaning requirements, so check the manufacturer’s instructions before soaking them or putting them in a dishwasher.
Step 3: Soak the Grates in Warm Soapy Water
Fill a sink or basin with warm water and add a small amount of dishwashing liquid.
Place compatible grates and caps in the solution and let them soak for approximately 15–20 minutes. For heavy grease, you may need more time, depending on the material and the manufacturer’s instructions.

Use a soft sponge or brush to loosen grease and food residue. Avoid steel wool and harsh abrasive pads that can scratch or damage the finish.
Rinse the parts with clean water when appropriate, then dry them thoroughly with a clean towel.
For additional guidance, see GE Appliances’ guide to cleaning gas stove grates and burner caps, which explains how to clean, rinse, and dry removable components.
Step 4: Clean the Gas Stove Surface
Mix a few drops of dish soap into warm water. Dip a microfiber cloth into the solution, wring it out, and wipe the stovetop gently.

Pay extra attention to areas around the burners, corners, and places where oil tends to collect.
For stubborn food residue, place a warm, damp cloth over the spot for a few minutes to soften it. Then wipe gently with a non-abrasive sponge.
Important: Do not pour water directly onto the stove. Keep moisture away from gas openings, electrical igniters, and other sensitive components.
Step 5: Remove Stubborn Grease and Burnt Stains
If ordinary dish soap does not remove a stubborn stain, you may be able to use a small amount of baking soda mixed with water to make a paste.

Before using it, check whether baking soda is suitable for your stove’s finish. Test a small, inconspicuous area first, and avoid abrasive scrubbing on glass, polished, or delicate surfaces.
Apply the paste to the stain, leave it briefly, and wipe it away gently with a damp cloth. Remove all residue afterward.
Do not use oven cleaner, bleach, rust remover, or other strong chemicals unless the appliance manufacturer specifically approves them for the surface you are cleaning.
Step 6: Clean the Burner Openings Carefully
Food particles and grease can sometimes block the small openings in gas burners. This may contribute to uneven flames or difficulty lighting a burner.
Once the burner components are cool and removed as directed by the manual, gently clean accessible surfaces using a soft brush or cloth.
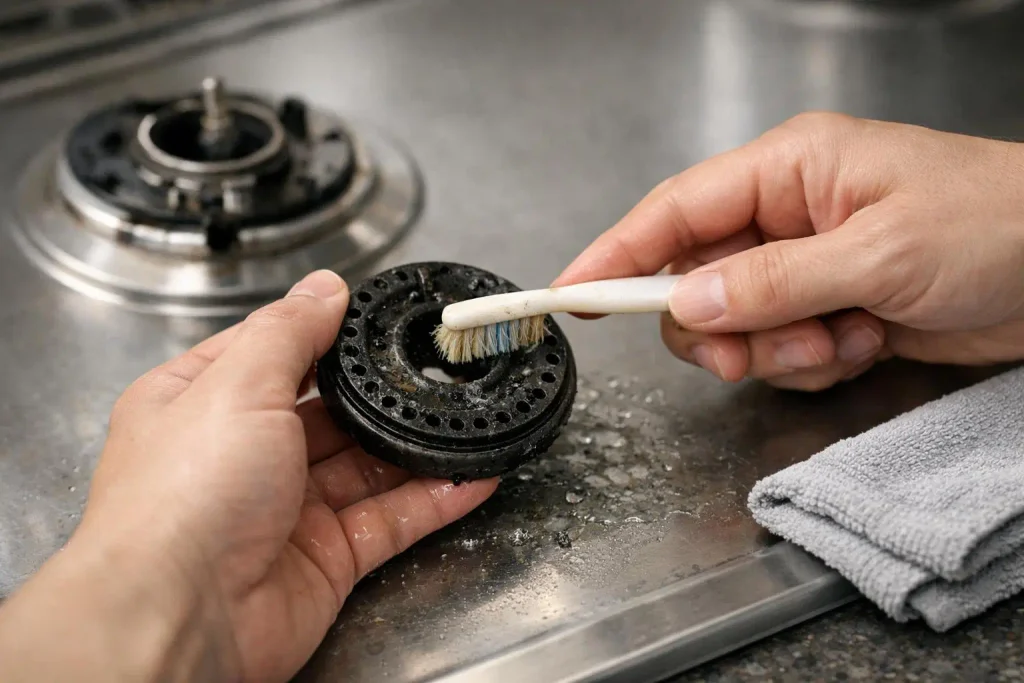
For clogged burner ports, follow the exact instructions for your model. Some manufacturers permit a straight pin or fine wire, while others specify different methods. Never enlarge the openings, force tools into gas passages, or damage the igniter.
You can also read Whirlpool’s guide to cleaning gas cooktop burners and ports for additional burner-cleaning precautions and reassembly instructions.
If a burner continues to perform poorly after cleaning, stop using that burner and contact a qualified technician.
Step 7: Reassemble and Check the Stove
Before putting the stove back together, make sure every cleaned component is completely dry.
Replace each burner head, cap, and grate in its correct position. Burner caps should sit flat and align properly according to the manufacturer’s instructions.
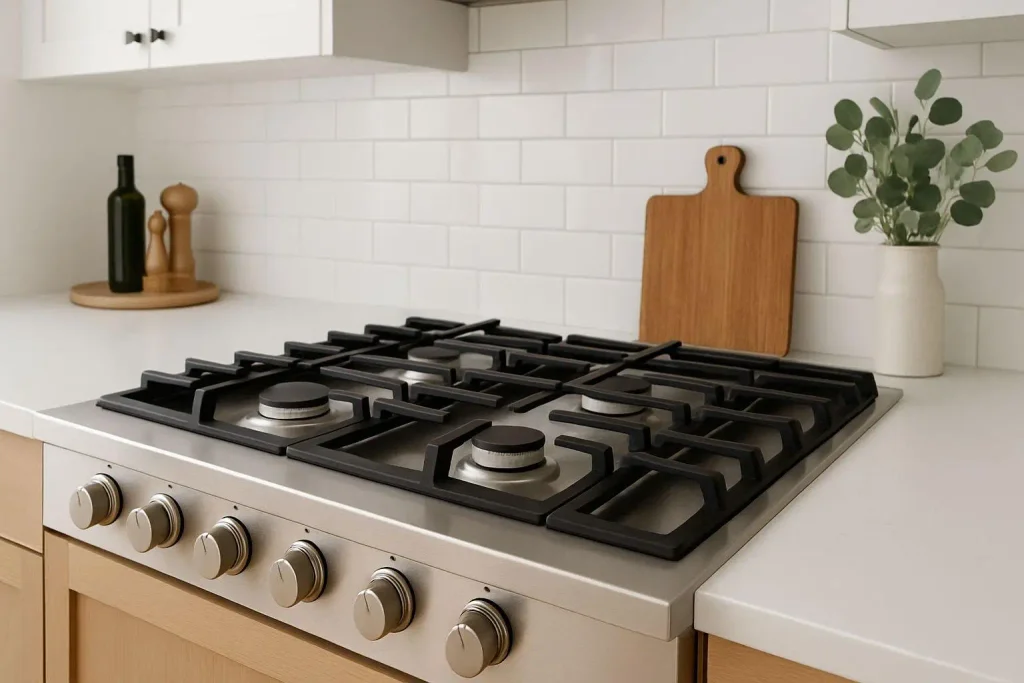
Once everything is assembled, check that the area is dry and that there is no unusual gas smell. Follow the manufacturer’s lighting instructions when testing the burners.
If you notice a gas smell, persistent clicking, a damaged component, or an unusual flame, switch off the appliance if it is safe to do so and seek qualified assistance. Never use a burner with a suspected gas leak.
How to Clean Different Types of Gas Stove Surfaces
Different stove materials need different cleaning methods. Always follow the care instructions for your specific appliance.
Stainless Steel Gas Stove
Use warm soapy water and a soft microfiber cloth. Wipe gently in the direction of the steel’s grain when visible, then dry the surface to reduce water marks.
Avoid steel wool and harsh scouring powders.
Glass-Top Gas Stove
Use a soft cloth and a cleaner approved for your model. Do not assume that baking soda, abrasive sponges, or metal scrapers are safe for every glass surface.
Allow the stove to cool completely before cleaning.
Enamel Gas Stove
Clean with mild dish soap and a soft sponge. Avoid dropping heavy grates onto the surface because enamel can chip.
For stubborn stains, use only a cleaning method approved by the manufacturer.
Common Mistakes to Avoid When Cleaning a Gas Stove
Avoid these mistakes to protect your appliance and keep cleaning safe:
- Cleaning while the stove is hot: This can cause burns and may damage components.
- Using too much water: Water can enter burner openings or sensitive electrical parts.
- Using harsh chemicals: Bleach, oven cleaners, and rust removers may damage certain finishes and components.
- Reinstalling wet burners: Moisture can interfere with ignition and burner operation.
- Mixing cleaning products: Never mix bleach with vinegar, ammonia, or other cleaners.
- Forcing blocked burner openings: Incorrect tools or excessive force can damage the burner.
- Ignoring the owner’s manual: Cleaning methods differ between stove models and materials.
How Often Should You Clean a Gas Stove?
A simple cleaning routine can help prevent grease from becoming difficult to remove.
- After cooking: Once the stove has cooled, wipe away spills and crumbs.
- Weekly: Clean the surface more thoroughly and inspect the area around the burners.
- As needed: Soak removable grates and caps when grease builds up, following the manual.
- Periodically: Inspect burner performance and arrange professional service if a burner repeatedly fails to light or produces an unusual flame.
The right frequency depends on how often you cook and how much grease your meals produce.
Regular cleaning makes kitchen maintenance easier. You can also explore our other home cleaning tips for practical ways to keep your home clean.
When Should You Call a Professional?
Routine surface cleaning is usually manageable at home, but some problems require professional attention.
Contact a qualified technician if:
- You smell gas.
- A burner repeatedly fails to ignite after correct cleaning and reassembly.
- The flame remains unusually yellow or uneven.
- A burner component is damaged or corroded.
- You suspect a leak or a problem with the gas connection.
Never dismantle gas lines or attempt repairs beyond the maintenance described in your appliance manual.
Frequently Asked Questions
1. What is the easiest way to clean a gas stove?
Turn off the burners, let the stove cool completely, remove loose crumbs, and wipe the surface with warm water and mild dish soap. Use a soft sponge to remove grease, then dry the surface.
2. Can I use baking soda to clean a gas stove?
Baking soda mixed with water may help remove some stubborn stains, but it is not suitable for every finish. Check your stove’s manual and test a small area before using it.
3. Can I wash gas stove burners with water?
Some removable burner components can be cleaned with water, while others require specific care. Follow the manufacturer’s instructions, avoid soaking electrical igniters or non-removable components, and dry all parts completely before reassembly.
4. Why is my gas burner not lighting after cleaning?
The burner cap may be incorrectly positioned, a component may still be damp, or a burner opening may be blocked. Switch the burner off, allow components to dry, and check the alignment according to the manual. If the problem continues, contact a technician.
5. Can I use vinegar to clean a gas stove?
A diluted vinegar solution may be suitable for certain compatible surfaces or components, but it is not appropriate for every material. Check the manufacturer’s guidance before using it, and never mix vinegar with bleach or other cleaning chemicals.
6. How can I prevent grease buildup on my gas stove?
Wipe spills after cooking once the stove has cooled, clean splashes promptly, and perform a deeper clean regularly. Using suitable lids or splatter guards while cooking can also reduce grease around the burners.
Final Thoughts
Learning how to clean a gas stove can help you maintain a cleaner kitchen and reduce the buildup of grease and burnt food. For everyday cleaning, warm water, mild dish soap, and a soft cloth are often enough.
Remember to let the stove cool completely, use cleaning products suitable for its surface, keep sensitive burner parts dry, and reinstall every component correctly. When you notice a gas leak, persistent ignition problems, or unusual flames, prioritize safety and contact a qualified professional.
A few minutes of regular care can make your gas stove easier to clean and help you spot potential problems before they become more serious.