
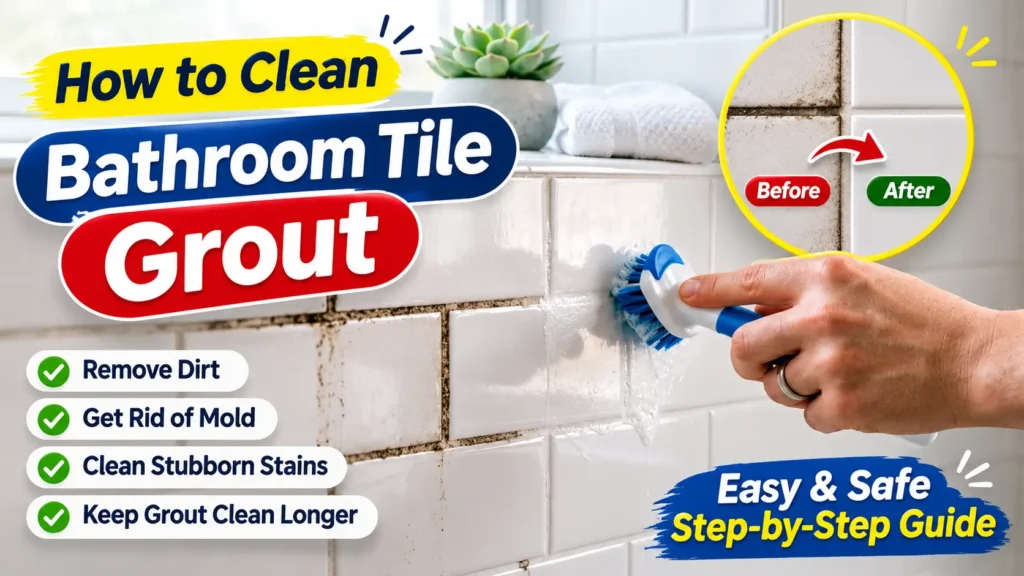
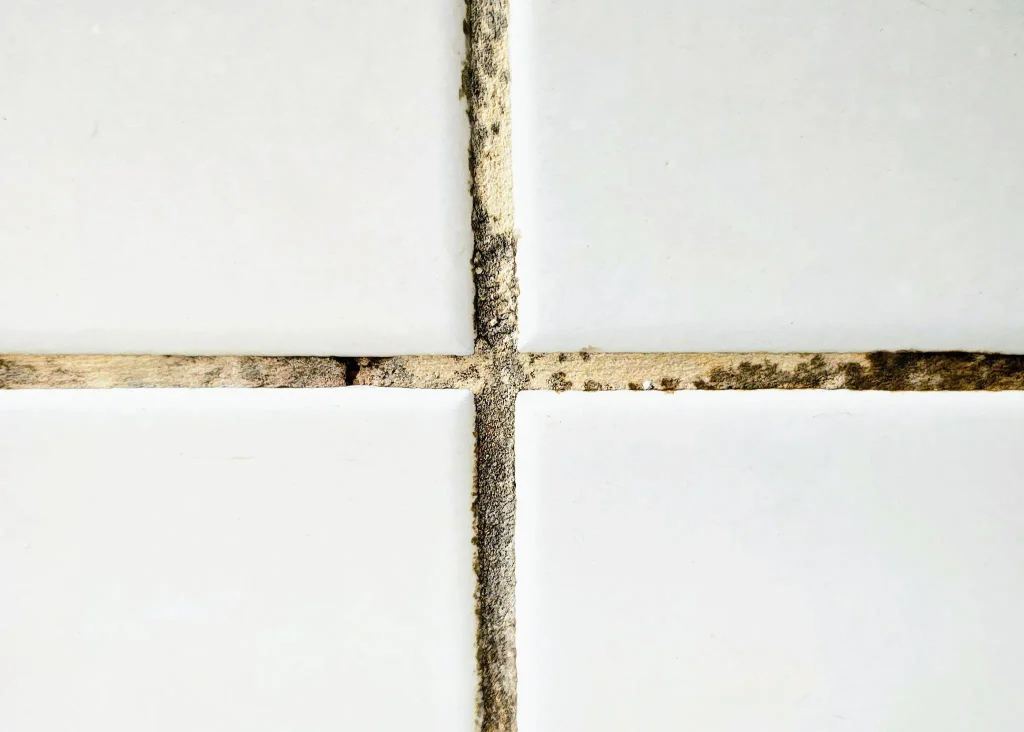
Dirty bathroom grout can make even a beautifully tiled bathroom look old and poorly maintained. Over time, the narrow lines between tiles collect soap residue, body oils, dust, moisture, and everyday dirt. In damp areas, mold and mildew can also develop, leaving grout looking black, yellow, brown, or discolored.
Learning how to clean bathroom tile grout properly can help improve the appearance of your bathroom and prevent unnecessary damage to the grout and surrounding tiles.
The right cleaning method depends on the type of grout, the tile material, and the cause of the staining. While mild dish soap and water may remove ordinary dirt, stubborn stains and mold may require a suitable specialized cleaner.
In this guide, you will learn how to clean grout between bathroom tiles, remove black stains, deal with mold and mildew, choose suitable cleaning supplies, and maintain cleaner grout lines for longer.
What Is Bathroom Tile Grout?
Bathroom tile grout is the material used to fill the joints between individual tiles. It helps create a finished tiled surface, supports the installation, and prevents open gaps from collecting debris.
Grout is commonly found between:
- Bathroom wall tiles.
- Shower tiles.
- Floor tiles.
- Bathtub surrounds.
- Backsplash tiles.
- Decorative bathroom tiles.
Unlike glazed ceramic and porcelain tiles, many traditional cement-based grouts have a porous structure. This means they can absorb moisture and allow dirt or residues to become trapped within their surface.
Different grout materials have different cleaning requirements. Identifying the grout type before using a cleaning product is important.
Why Does Bathroom Tile Grout Get Dirty?
Bathroom grout becomes dirty for several reasons, particularly in areas exposed to frequent water and humidity.
Common causes include:
1. Soap and shampoo residue: Soap, shampoo, conditioner, and body wash can leave deposits on grout lines.
2. Body oils and everyday dirt: Skin oils, dust, and other residues can gradually accumulate in porous grout.
3. Moisture and humidity: Bathrooms frequently remain damp, especially around showers and bathtubs.
4. Mold and mildew: Persistent moisture and limited ventilation can encourage fungal growth.
5. Hard water deposits: Mineral-rich water can leave deposits on tiled surfaces and contribute to discoloration.
6. Infrequent cleaning: Dirt becomes harder to remove when it accumulates over an extended period.
7. Poor ventilation: Bathrooms without effective ventilation may take longer to dry.
8. Damaged grout: Cracks, gaps, and deteriorating grout can trap dirt and allow water to enter the underlying installation.
Grout may become darker than surrounding tiles because it absorbs residues that are easier to wipe away from the tile surface.
Different Types of Bathroom Grout and Their Cleaning Requirements
Before choosing a bathroom grout cleaner, identify the material installed between your tiles.
Cement-Based Grout
Cement-based grout is commonly used in residential tile installations. It is generally porous and may absorb moisture and staining materials.
Some cement-based grouts are sealed to help reduce absorption, while others may remain unsealed.
Use compatible, preferably pH-neutral cleaners for routine maintenance. Avoid regular use of acidic products because they can discolor or weaken cement-based grout over time.
Epoxy Grout
Epoxy grout is made using epoxy resins and fillers. It generally has lower water absorption and greater stain resistance than traditional cement-based grout.
However, this does not mean it can tolerate every chemical or abrasive cleaning method.
Use cleaning products approved for your particular epoxy grout. Avoid assuming that a cleaner suitable for cement grout is automatically appropriate for epoxy grout.
Sealed and Unsealed Grout
A grout sealer helps reduce the absorption of water and staining materials in compatible grout.
Sealed grout may be easier to maintain, but sealing does not make grout completely waterproof or eliminate the need for cleaning.
Always check the grout manufacturer’s recommendations before applying a new sealer.
What You Need to Clean Bathroom Tile Grout
Gather the following supplies before starting:
| Cleaning supply | Purpose |
|---|---|
| Mild dish soap | Helps remove ordinary dirt and oily residue |
| Warm water | Helps loosen everyday grime |
| Baking soda | May help with certain surface stains through gentle cleaning |
| Soft-bristled grout brush | Loosens dirt from narrow grout lines |
| Microfiber cloth | Wipes away loosened dirt and moisture |
| Non-abrasive sponge | Cleans surrounding tile surfaces |
| Compatible commercial grout cleaner | Helps tackle stains that ordinary cleaning cannot remove |
| Clean water | Rinses away cleaning residue |
| Rubber gloves | Protects hands during cleaning |
| Protective eyewear | Helps protect eyes when required by product instructions |
| Spray bottle | Applies suitable cleaning solutions evenly |
You do not need every supply for every cleaning job. Choose products according to your grout and tile materials.
How to Clean Bathroom Tile Grout: 5 Practical Methods
Here are five methods to consider when cleaning dirty grout between bathroom tiles.
Method 1: Clean Bathroom Grout with Baking Soda and Water
Baking soda can help loosen some surface dirt when used carefully. However, it is mildly abrasive and may not be suitable for every tile finish or grout material.
What you need:
- Baking soda.
- A small amount of water.
- Soft-bristled brush.
- Microfiber cloth.
- Clean water.
Step-by-step instructions:
- Remove loose dust and dirt from the tiled area.
- Check that baking soda is compatible with your grout and tile.
- Mix a small amount of baking soda with water to create a soft paste.
- Test the paste on a small, inconspicuous area.
- Apply a thin layer to the affected grout lines.
- Gently brush the grout using a soft-bristled brush.
- Avoid applying excessive pressure.
- Rinse thoroughly with clean water.
- Wipe the surface with a microfiber cloth.
- Allow the grout to dry.

Baking soda is not a universal grout cleaner. It may not remove deeply embedded stains, persistent mold, or permanent discoloration.
Method 2: Clean Grout with Mild Dish Soap and Warm Water
Mild dish soap and warm water are suitable starting points for ordinary bathroom dirt, body oils, and soap residue.
Instructions:
- Add a small amount of mild dish soap to warm water.
- Dampen a soft sponge or grout brush with the solution.
- Gently clean the affected grout lines.
- Work in small sections.
- Avoid flooding the tiled area with water.
- Rinse the surface with clean water.
- Remove any remaining soap residue.
- Dry the area with a clean microfiber cloth.
This method works best for light to moderate everyday dirt. It may not be sufficient for stubborn stains or established mold growth.
Method 3: Use a Commercial Bathroom Grout Cleaner
A suitable commercial grout cleaner can help remove stubborn dirt and stains.
For example, CUSTOM Building Products’ TileLab Grout & Tile Cleaner is one product option to review, but always check its label to confirm compatibility with your specific tile and grout.
Before purchasing or applying a cleaner, check:
- Whether it is suitable for cement-based or epoxy grout.
- Whether it is compatible with your tile material.
- Whether it is safe for colored grout.
- Whether it can be used on natural stone.
- The recommended application time.
- The required protective equipment.
- The rinsing instructions.
How to use it:
- Read the complete product label.
- Open windows or use suitable bathroom ventilation.
- Wear the recommended protective equipment.
- Test the product in a small, hidden area.
- Apply it according to the manufacturer’s instructions.
- Allow it to remain on the surface only for the recommended time.
- Gently clean with a suitable brush if instructed.
- Rinse thoroughly as directed.
- Allow the surface to dry.
Never combine a commercial grout cleaner with bleach, vinegar, ammonia, or another cleaning product.
Method 4: Use a Soft-Bristled Grout Cleaning Brush
A dedicated grout brush can help remove dirt trapped inside narrow grout joints.
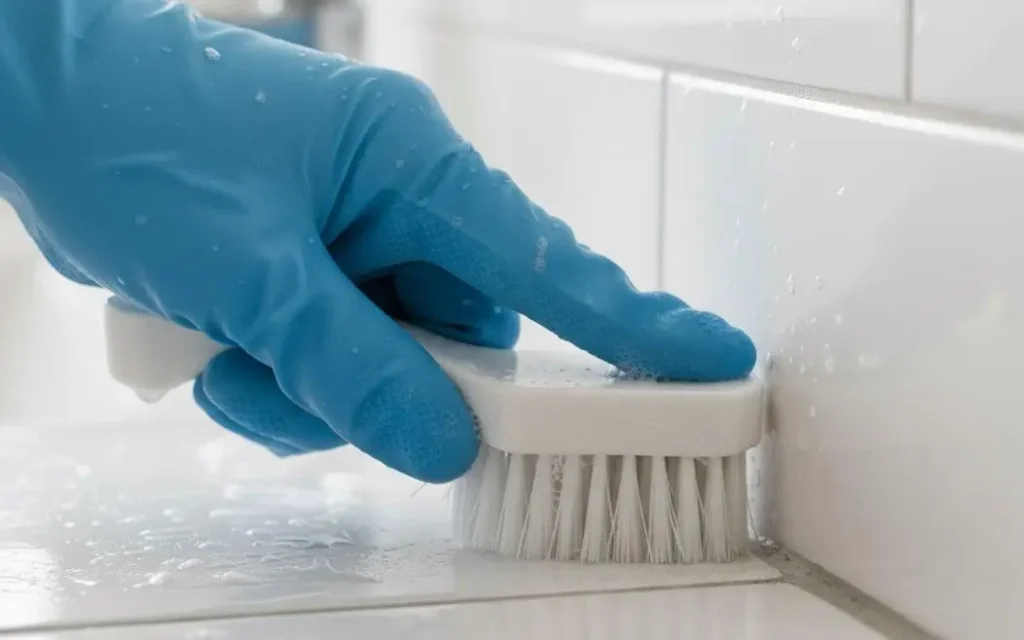
Choose a brush with bristles suitable for the grout and tile finish.
Cleaning steps:
- Apply a compatible cleaning solution.
- Hold the brush at a comfortable angle.
- Brush gently along the grout lines.
- Work in short sections.
- Pay attention to corners and shower joints.
- Wipe away loosened dirt.
- Rinse and dry the surface.
Avoid metal brushes, excessively stiff bristles, and aggressive scrubbing. These can damage grout or scratch surrounding surfaces.
Method 5: Use a Specialized Cleaner for Stubborn Grout Stains
Some stains require a cleaner formulated for a particular problem, such as mineral deposits, rust, soap scum, or grout discoloration.
For example, an appropriate mineral-deposit cleaner may help with hard water staining, while a compatible mold-cleaning product may be needed for visible fungal growth.
Do not select a product based only on its advertised strength. Check its compatibility with your tile, grout, and protective coating.
How to Clean Bathroom Tile Grout Step by Step
If you are a beginner, follow this simple cleaning routine.
Step 1: Identify the surface
Determine whether your bathroom has cement-based grout, epoxy grout, natural stone, ceramic tiles, or porcelain tiles.
Step 2: Remove loose dirt
Wipe the tiles with a dry or slightly damp microfiber cloth.
Step 3: Select a suitable cleaner
Choose a compatible cleaner based on the type of dirt or staining.
Step 4: Test the product
Apply a small amount to an inconspicuous area and check for discoloration or surface damage.
Step 5: Apply the cleaner
Follow the manufacturer’s application instructions.
Step 6: Brush gently
Use a soft-bristled brush to loosen dirt without damaging the grout.
Step 7: Rinse thoroughly
Remove all cleaning residue using clean water as directed.
Step 8: Dry the surface
Use a microfiber cloth and allow the bathroom to ventilate properly.
Step 9: Inspect the grout
Look for remaining stains, cracks, missing grout, or signs of recurring moisture.
How to Remove Black Stains from Bathroom Grout
Black stains between bathroom tiles can have several causes. They should not automatically be assumed to be mold.
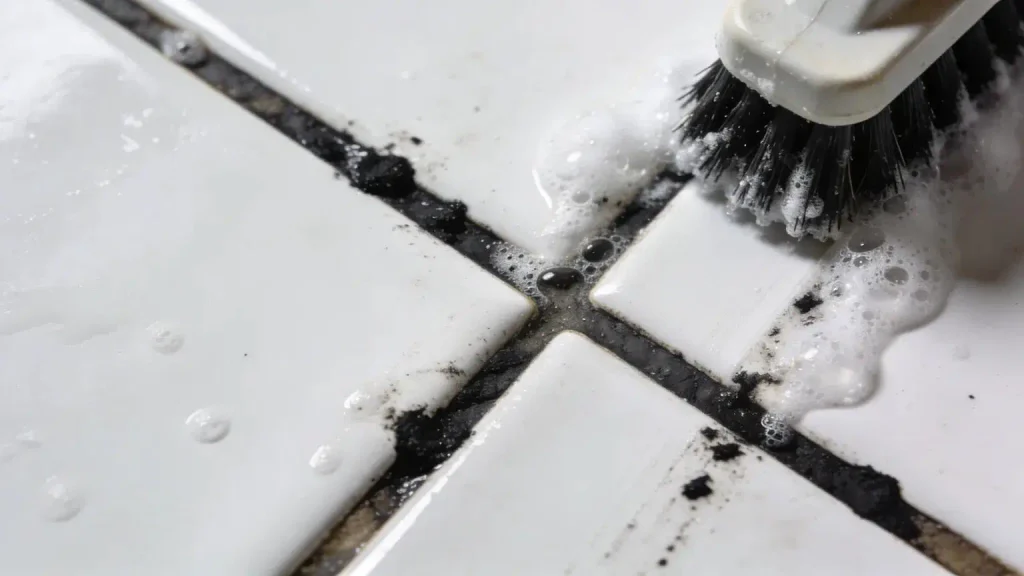
Possible causes include:
- Mold growth.
- Mildew.
- Embedded dirt.
- Soap residue.
- Mineral deposits.
- Permanent grout discoloration.
- Deteriorating grout.
Start by inspecting the affected area.
For ordinary dirt, try a compatible mild cleaner and gentle brushing.
If you suspect mold, use a suitable cleaning method intended for the affected surface. Follow its label instructions and address the moisture problem.
If black discoloration remains after cleaning, the grout may be permanently stained or damaged.
Do not keep applying stronger chemicals or scrubbing harder in an attempt to restore its original color.
How to Remove Mold and Mildew from Bathroom Tile Grout
Mold and mildew can develop in bathrooms where moisture remains for extended periods.
According to the US Environmental Protection Agency (EPA), controlling moisture and fixing water problems are important steps in preventing mold from returning.
For additional guidance, follow the CDC’s recommendations for safe mold cleanup, including using appropriate protective equipment and following safe cleaning practices.
They are commonly found around shower corners, grout lines, bathtub edges, and areas with poor ventilation.

Follow these precautions:
- Identify the affected area.
- Wear suitable gloves and eye protection.
- Ventilate the bathroom.
- Choose a cleaning product suitable for the grout and tile.
- Follow the product label carefully.
- Remove visible contamination using an appropriate cleaning method.
- Rinse or wipe the surface as directed.
- Dry the affected area.
- Repair leaks and improve ventilation.
The US Environmental Protection Agency recommends addressing the moisture source as well as cleaning visible mold. Cleaning without fixing the moisture problem may allow it to return.
For larger, recurring, hidden, or extensive mold problems, seek professional assessment.
Important chemical safety warning: Never mix bleach with vinegar, ammonia, acids, toilet cleaners, or other cleaning products. Dangerous chemical reactions and toxic gases can result.
How to Remove Yellow or Brown Stains from Bathroom Grout
Yellow or brown grout stains may result from several different problems.
Common causes include:
- Soap and shampoo residue.
- Hard water deposits.
- Body oils.
- Rust from metal fixtures.
- Cleaning product residue.
- Permanent discoloration.
- Water-related staining.
First, identify the likely source.
For ordinary soap residue, begin with a compatible mild detergent.
For mineral deposits or rust, select a specialized product that is approved for your specific tile and grout.
Be particularly careful with marble, limestone, and travertine. Acidic cleaners can damage these surfaces.
If the discoloration remains after appropriate cleaning, professional assessment may be necessary.
How to Clean Bathroom Grout Without Damaging Tiles
Safe cleaning is just as important as removing stains.
Follow these recommendations:
- Identify your grout and tile materials.
- Check the manufacturer’s cleaning instructions.
- Test new cleaning products in an inconspicuous area.
- Choose compatible, non-abrasive cleaners.
- Use a soft-bristled brush.
- Avoid excessive scrubbing pressure.
- Avoid unsuitable acidic products.
- Protect natural stone surfaces.
- Do not leave cleaners on longer than instructed.
- Rinse away cleaning residue.
- Dry the surface properly.
Natural stone tiles, polished surfaces, and decorative finishes may require specially formulated cleaning products.
Before using vinegar on tiled surfaces, review MAPEI’s recommendations about vinegar and tile grout cleaning, especially when dealing with cement-based grout or natural stone tiles.
For example, MAPEI warns that vinegar can etch certain natural stones and that frequent use may weaken or discolor cement-based grout.
Common Mistakes to Avoid When Cleaning Bathroom Grout
Avoid these mistakes:
- Using acidic cleaners regularly on cement-based grout.
- Applying excessive scrubbing pressure.
- Using metal brushes.
- Applying unsuitable chemicals to natural stone.
- Mixing different cleaning products.
- Ignoring product instructions.
- Leaving cleaning solutions on for too long.
- Failing to rinse thoroughly.
- Ignoring cracks or missing grout.
- Cleaning mold without addressing moisture.
- Assuming every black stain is mold.
- Using abrasive powders on delicate surfaces.
Remember: Never mix bleach with vinegar, ammonia, acids, toilet cleaners, or other cleaning products. Always follow the manufacturer’s safety and ventilation instructions.
If accidental exposure to a household cleaning chemical occurs, visit Poison Control for information about poison exposure and appropriate next steps.
How Often Should You Clean Bathroom Tile Grout?
Cleaning frequency depends on bathroom usage, ventilation, humidity, and the condition of your grout.
A practical maintenance routine is:
| Frequency | Cleaning task |
|---|---|
| After showering | Remove excess water and improve ventilation |
| Daily or as needed | Wipe visible soap residue and wet surfaces |
| Weekly | Clean bathroom tiles and inspect grout lines |
| Monthly | Check corners, shower joints, and areas prone to staining |
| Periodically | Inspect grout sealer and grout condition according to manufacturer guidance |
Bathrooms used frequently may need more regular cleaning.
The goal is to prevent heavy buildup rather than wait until the grout becomes deeply stained.
How to Prevent Bathroom Grout from Getting Dirty
Preventive maintenance can make bathroom grout easier to clean.
1. Wipe tiles regularly: Remove soap residue and standing water after showering.
2. Improve ventilation: Use an exhaust fan that vents outdoors or open a window where practical.
3. Keep surfaces dry: Use a squeegee or microfiber cloth to remove excess water.
4. Clean grout regularly: Avoid allowing dirt and soap residue to accumulate.
5. Repair plumbing leaks: Fix leaking taps, shower fittings, and pipes promptly.
6. Use suitable grout sealer: Apply a compatible sealer when recommended by the grout manufacturer.
7. Inspect damaged grout: Repair cracked or missing grout before water-related damage develops.
8. Maintain shower corners: Inspect silicone sealant and replace deteriorated sections when necessary.
Remember that grout sealer reduces absorption in suitable grout but does not make the installation completely waterproof.
Along with cleaning your grout regularly, keeping your shower drain free from hair and soap buildup can help maintain a cleaner bathroom. Read our guide on how to fix a clogged shower drain for practical maintenance tips.
When Should You Consider Professional Grout Cleaning or Repair?
DIY cleaning may not be enough when grout is deeply stained or damaged.
Consider professional assistance if you notice:
- Deeply embedded stains that do not respond to compatible cleaning.
- Persistent mold growth.
- Crumbling or powdery grout.
- Cracked or missing grout.
- Repeated water-related discoloration.
- Suspected water damage behind tiled surfaces.
- Extensive or recurring mold contamination.
There is a difference between cleaning, repairing, and replacing grout.
Professional grout cleaning: Removes stubborn surface dirt and staining using appropriate equipment and cleaning products.
Grout repair: Addresses localized cracks, gaps, and deteriorated joints.
Grout replacement: Removes damaged grout and installs new grout where necessary.
If the grout is permanently discolored but structurally sound, a suitable grout colorant or recoloring treatment may be an option. Follow the product manufacturer’s recommendations.
Frequently Asked Questions About Cleaning Bathroom Tile Grout
1. What is the easiest way to clean bathroom tile grout?
For ordinary dirt, use a compatible mild detergent and warm water with a soft-bristled brush. Rinse thoroughly and dry the surface.
2. How do you clean dirty grout between bathroom tiles?
Apply a suitable grout cleaner, gently brush the affected lines, and rinse according to the product instructions. Choose the cleaner according to your grout and tile materials.
3. Does baking soda clean bathroom grout?
Baking soda may help loosen certain surface stains when mixed with water. However, it is mildly abrasive and may not be suitable for every surface.
4. Can vinegar damage bathroom grout?
Yes. Regular vinegar use may weaken or discolor cement-based grout. It can also etch marble, limestone, and travertine. Avoid using it as a routine grout cleaner.
5. How do you remove black stains from bathroom grout?
First determine whether the stains are caused by mold, dirt, or permanent discoloration. Use a compatible cleaner and seek professional advice if the staining persists.
6. How do you remove mold from bathroom tile grout?
Use an appropriate cleaning method, follow the product instructions, ventilate the area, and remove the moisture source. Persistent or extensive mold problems may require professional help.
7. How do you remove yellow stains from grout?
Identify whether the discoloration comes from soap residue, mineral deposits, rust, or permanent staining. Choose a cleaner suitable for the identified problem and surface.
8. Can you use bleach to clean bathroom grout?
Some products containing bleach may be suitable for certain grout-cleaning applications, but bleach is not recommended as a routine mold-cleaning solution by the EPA. Always check compatibility and never mix bleach with other cleaners.
9. How often should bathroom grout be cleaned?
Clean visible dirt regularly, perform a more thorough cleaning approximately weekly when needed, and inspect grout periodically. Adjust the schedule according to bathroom usage and moisture levels.
10. How do you clean grout without damaging tiles?
Identify the tile and grout materials, test a compatible cleaner, use a soft brush, avoid aggressive scrubbing, and rinse thoroughly.
11. What is the best cleaner for bathroom tile grout?
The best cleaner depends on the grout material and the type of staining. A mild, compatible cleaner is generally a good starting point for routine maintenance.
12. Does grout sealer prevent stains?
Grout sealer can reduce the absorption of staining materials in compatible grout. However, it does not make grout completely waterproof or eliminate regular cleaning.
13. Why does bathroom grout turn black?
Black discoloration may be caused by mold, mildew, dirt, or other staining. Inspect the affected area before selecting a cleaning method.
14. Can old grout be restored?
Some old grout can improve with appropriate cleaning or recoloring. However, deeply stained, damaged, or deteriorating grout may need professional repair or replacement.
15. When should bathroom grout be replaced?
Consider replacement when grout is crumbling, cracked, missing, or no longer providing sound joints. Persistent water damage may also require professional inspection.
Conclusion
Learning how to clean bathroom tile grout is an important part of maintaining a clean and comfortable bathroom. The right approach starts with identifying the grout material, understanding the cause of the stains, and selecting a suitable cleaning product.
For everyday dirt, mild dish soap and warm water may be sufficient. More stubborn stains may require a compatible commercial grout cleaner, while mold and mildew problems also require proper moisture control.
Avoid aggressive scrubbing, unsuitable acidic cleaners, and dangerous chemical combinations. Rinse cleaning products thoroughly, maintain good ventilation, and inspect grout regularly for signs of damage.
With consistent bathroom maintenance and the correct cleaning methods, you can keep your grout looking cleaner and help protect your tiled surfaces for longer.

For more practical cleaning advice and easy household solutions, explore the Bathroom Cleaning and Cleaning Fixes guides on Fix The Annoying.