
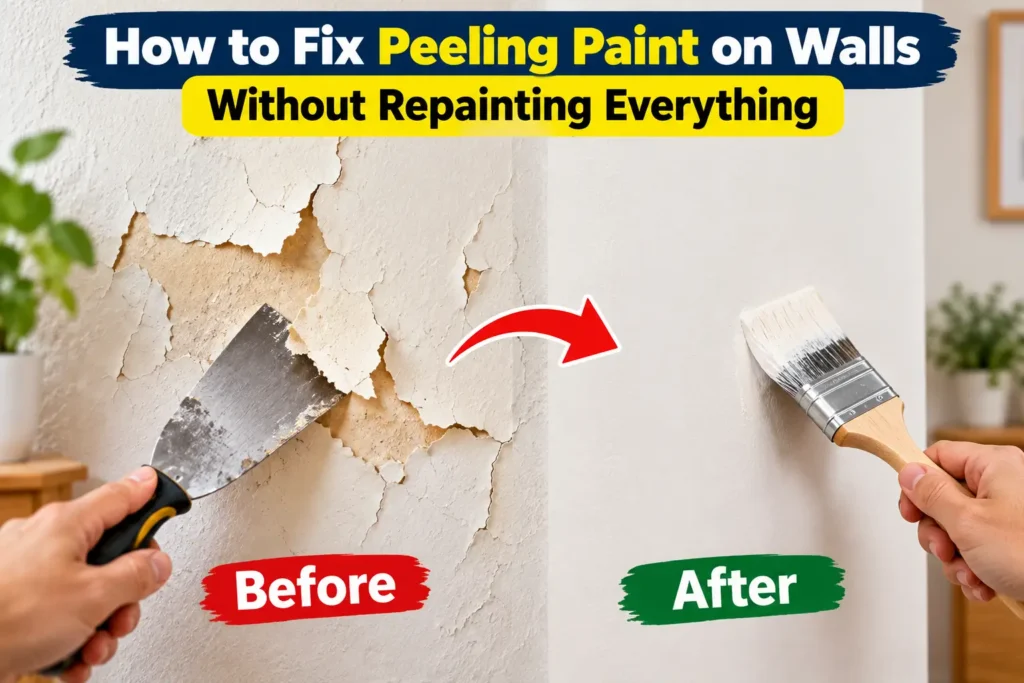
How to fix peeling paint on walls without repainting everything is a common question when small patches of paint start flaking, bubbling, or coming away from the surface. The good news is that you may not need to repaint the entire room. If the damage is limited and the surrounding paint is still firmly attached, you can often repair the affected spots and blend them into the existing finish.
The key is to identify why the paint is peeling, remove loose paint, prepare the damaged area, apply the right primer, and touch up the surface with matching paint. However, if moisture or a leak is causing the problem, that issue must be addressed before repairing the paint.
In this guide, you’ll learn how to repair peeling wall paint step by step, what tools you need, and when a small repair may not be enough.
Why Is Paint Peeling Off Walls?
Paint usually peels when it loses its grip on the surface beneath it. Several problems can cause this, and identifying the cause is important if you want the repair to last.
Common causes include:
- Moisture or water leaks: Water entering through a roof, plumbing leak, exterior wall, or poorly sealed window can loosen paint.
- Poor surface preparation: Dust, grease, dirt, or loose old paint can prevent a new coat from adhering properly.
- Painting over a damp wall: Paint applied before the wall dries completely may peel or blister.
- Missing or unsuitable primer: Some surfaces need a suitable primer to help paint adhere properly.
- Old or failing paint: Paint that has become weak or poorly bonded may start flaking over time.
- High humidity and poor ventilation: Moisture buildup in bathrooms, kitchens, and other damp areas can contribute to paint failure.
According to Sherwin-Williams’ guide to peeling paint, moisture, poor surface preparation, and weak adhesion can all contribute to peeling.
Before starting a repair, check whether the damage is limited to one small patch or appears across a large section of the wall.
Can You Fix Peeling Paint Without Repainting the Whole Wall?
Yes, in some cases.
A small repair may work when the peeling is limited, the surrounding paint is firmly attached, the wall underneath is sound, and you can match the existing paint reasonably well.
You may be able to avoid repainting the entire wall if:
- Only a small patch is peeling.
- The surrounding paint is not bubbling or flaking.
- There are no signs of ongoing dampness.
- The wall surface underneath is solid.
- You have matching paint or can find a close match.
However, spot repairs may remain visible on certain walls, especially when the original paint has faded, the finish is glossy, or the wall has a textured surface.
If paint is peeling across a large area, or the same spots keep failing, investigate the underlying problem before attempting another touch-up.
Tools and Materials You May Need
Gather these items before starting:
- Paint scraper or putty knife
- Fine-grit sandpaper or a sanding block
- Dusting brush or clean cloth
- Suitable wall filler or patching compound, if needed
- Putty knife for applying filler
- Primer compatible with the wall and existing paint
- Matching wall paint
- Small paintbrush or mini roller
- Drop cloth to protect the floor
- Safety glasses and a suitable dust mask
Use products designed for your wall surface and follow the manufacturer’s instructions for preparation, application, drying time, and ventilation.
Safety note: If your home is older and the paint may contain lead, do not scrape or sand it until you have checked the appropriate local safety guidance. Disturbing lead-based paint can create hazardous dust.
How to Fix Peeling Paint on Walls Without Repainting Everything
Follow these steps to repair a small, damaged area while keeping the rest of the wall intact.
Step 1: Inspect the Peeling Area
Start by examining the damaged paint carefully.
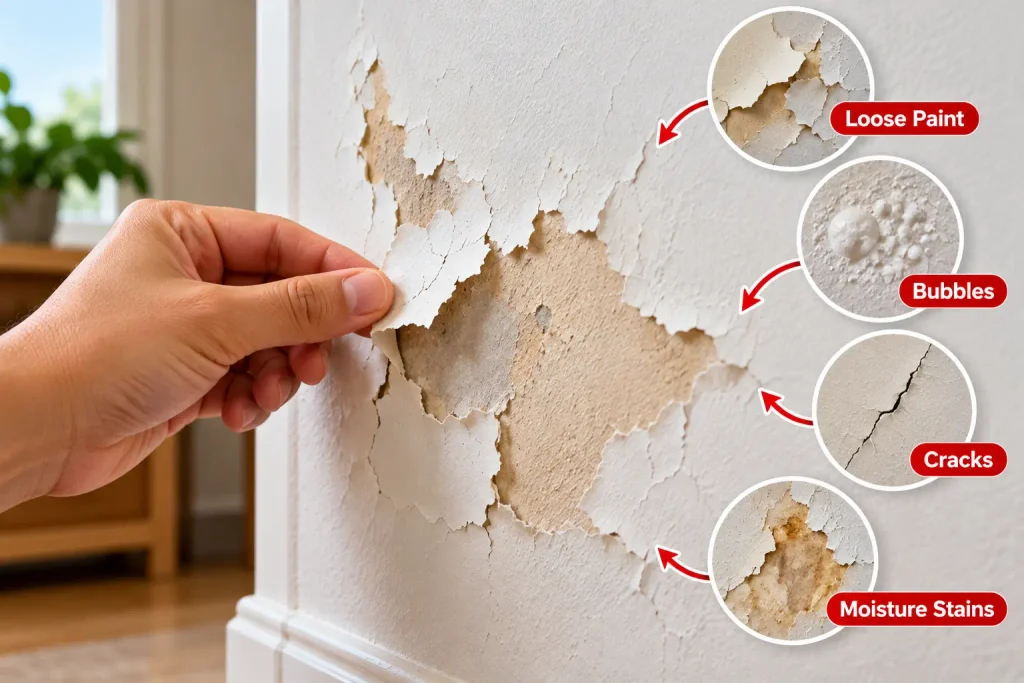
Look for:
- Loose or curling paint edges
- Bubbles beneath the paint
- Cracks in the wall surface
- Damp patches or water stains
- Mold or a musty smell
- Soft, crumbling, or powdery wall material
Pay attention to the location of the damage. Peeling near a bathroom, window, ceiling, or plumbing connection may indicate a moisture problem.
If you notice an active leak, persistent dampness, or a soft and deteriorating wall, address that issue first. Do not cover the damaged area with new paint.
Step 2: Remove Loose and Peeling Paint
Use a paint scraper or putty knife to gently remove paint that is already loose.
Work carefully and avoid digging into the wall. Continue until the remaining paint around the damaged area feels firmly attached.
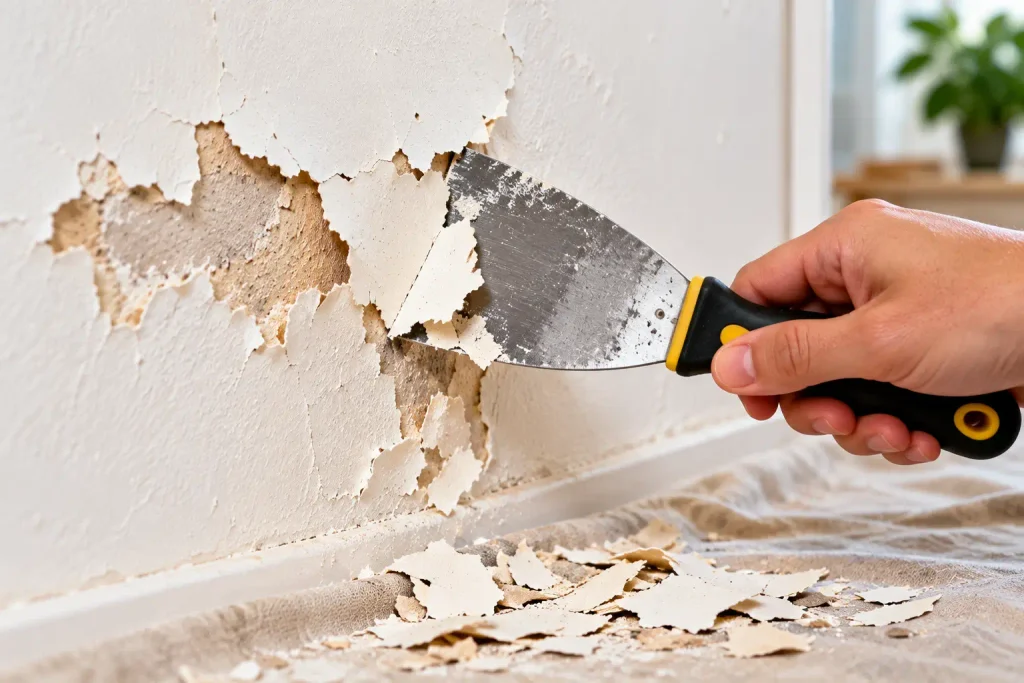
Do not simply press peeling paint back against the wall or paint over it. New paint cannot reliably secure a loose layer underneath.
For older coatings, take suitable precautions before scraping or sanding, especially if the paint composition is unknown.
Step 3: Smooth the Edges
After removing the loose paint, you may notice a raised edge between the remaining paint and the exposed wall.
Lightly sand the edges with suitable sandpaper to create a smoother transition.
The goal is to reduce the visible ridge without removing sound paint unnecessarily.
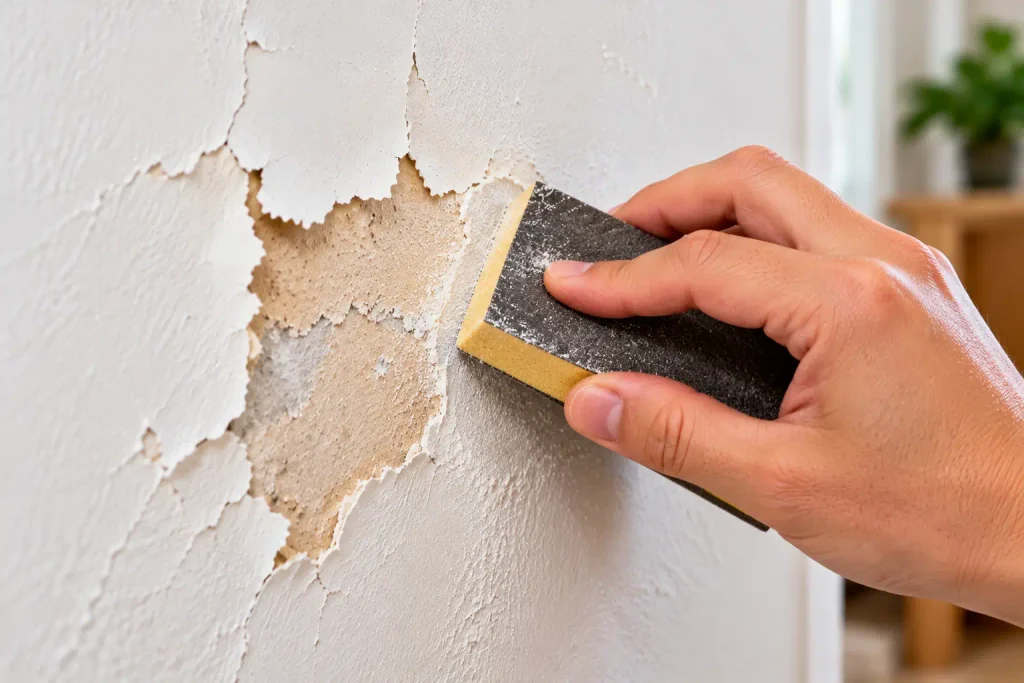
Once the surface is smooth, remove sanding dust with a suitable brush or cloth. Let the area dry completely before continuing.
Step 4: Repair Small Holes or Uneven Areas
If removing the peeling paint leaves small dents, shallow holes, or damaged surface areas, use a suitable wall filler or patching compound.
Apply a thin layer with a putty knife and smooth it so that it blends with the surrounding wall.
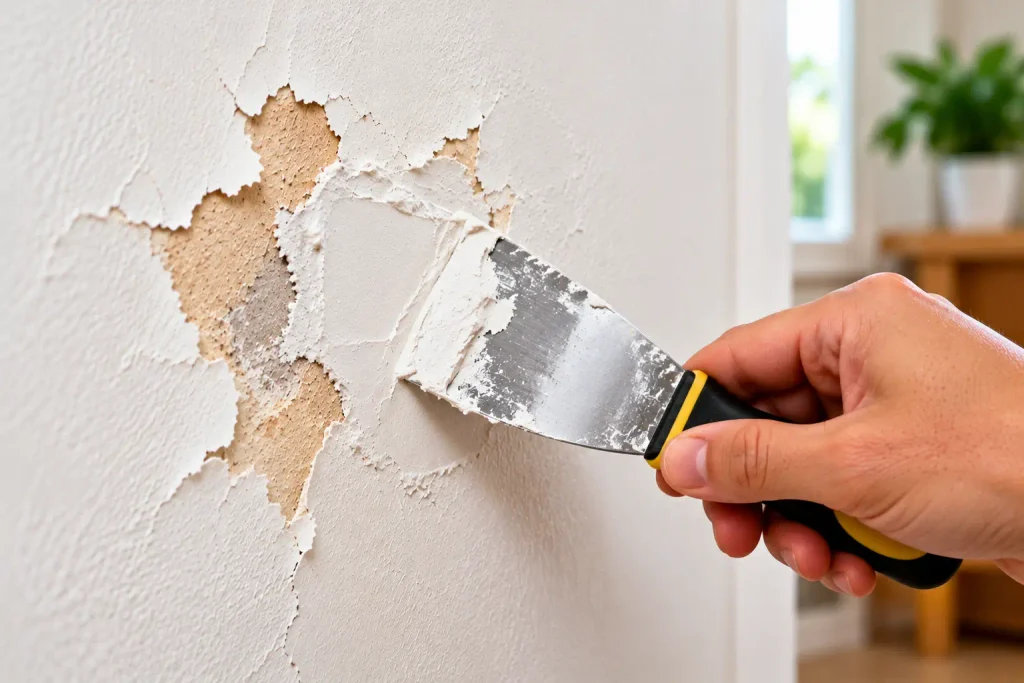
Allow the filler to dry or cure according to the product instructions. If necessary, apply another thin layer rather than trying to fill a deep hole in one pass.
Once it is completely dry, sand the repaired area gently until it feels smooth and level with the surrounding surface.
If the underlying plaster or drywall is badly damaged, crumbling, or soft from moisture, a simple filler repair may not be sufficient.
Step 5: Apply the Right Primer
Priming helps prepare the repaired surface for the new paint.
Choose a primer suitable for the wall material, the exposed surface, and the paint you plan to use. Some repairs may require a primer designed for bare plaster, drywall patches, or previously painted surfaces.
Apply the primer to the prepared area as directed on the product label. Avoid leaving thick edges or visible ridges.
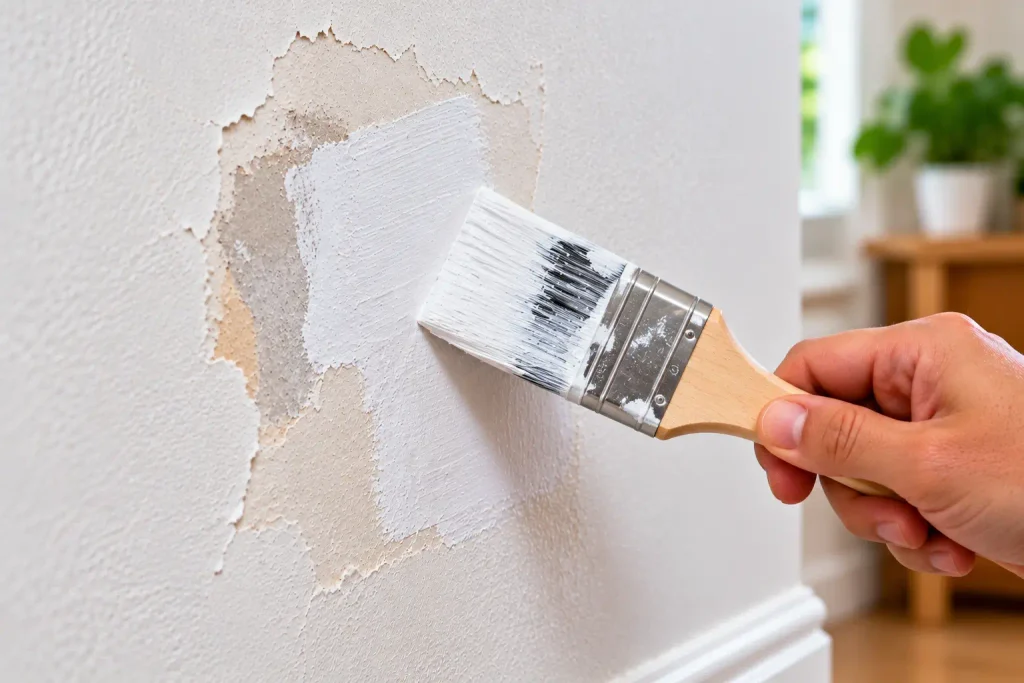
Allow it to dry fully before painting.
Important: Primer is not a substitute for fixing water leaks or persistent dampness. Resolve moisture problems before applying a new coating.
Step 6: Match the Existing Wall Paint
Matching the existing paint is one of the most important parts of making a small repair less noticeable.
Check whether you still have the original paint container or can identify the paint colour and finish.
Consider these points:
- Colour: Even a slight colour difference can make a patch stand out.
- Finish: Matte, eggshell, satin, and gloss finishes reflect light differently.
- Age: Existing paint may have faded or changed colour over time.
- Texture: A smooth wall and a textured wall may require different application techniques.
If you cannot find the original paint, take a clean, suitable paint sample or colour reference to a paint supplier for assistance. A sample may help with colour matching, although an exact match is not always possible.
Step 7: Touch Up the Damaged Area
Once the primer is dry, apply the matching paint using a small brush or mini roller suitable for the wall finish.
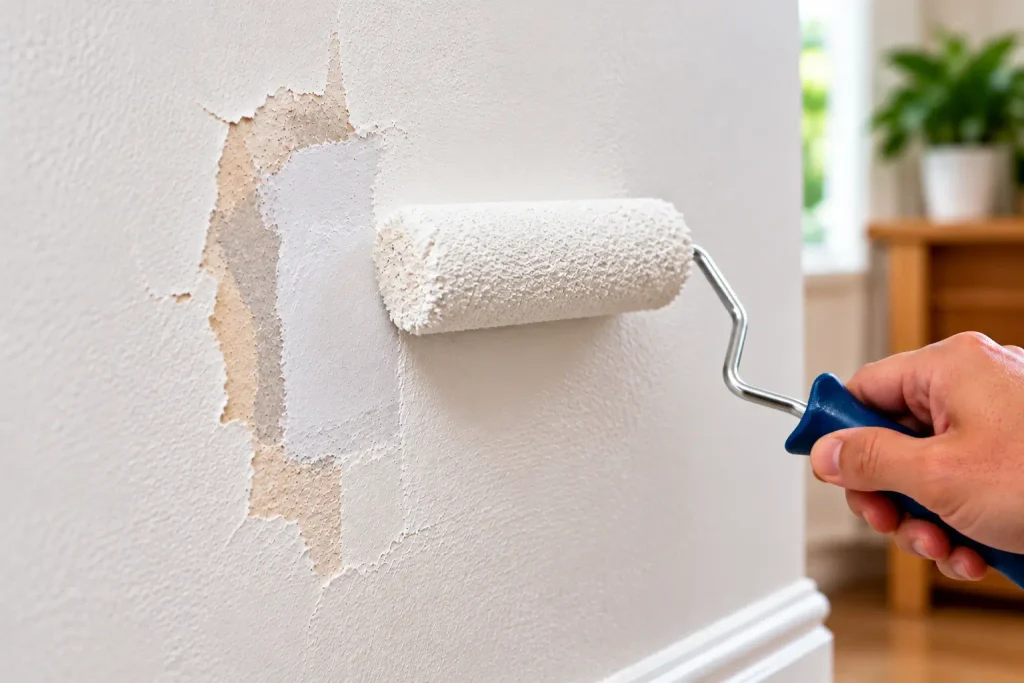
Use thin, even coats rather than applying a thick layer at once. Follow the paint manufacturer’s instructions for drying time and recoating.
To help the repair blend in:
- Use the same type of paint and finish where possible.
- Avoid leaving a heavy buildup around the edges.
- Use a similar application method to the original finish.
- Allow each coat to dry before deciding whether another is needed.
Check the repair in normal room lighting after it has dried. Wet paint can look different from dry paint, so avoid judging the final colour too early.
Step 8: Check the Finish Before Deciding to Repaint More
Once the touch-up is dry, inspect the repaired area from different angles.
If the patch blends in well, you may not need to do anything else.
If the repair remains noticeably different because of colour, sheen, texture, or widespread fading, you may need to repaint a larger section or the entire wall for a uniform finish.
This does not mean the repair failed. Sometimes the existing paint has changed enough that a perfect spot match is not realistic.
How to Make a Paint Touch-Up Less Noticeable
A good repair depends on more than choosing the right colour. Preparation and application also affect the final result.
Try these tips:
- Prepare the surface properly: Remove loose paint and sanding dust before priming.
- Use compatible products: Choose a suitable primer and paint for the wall and existing coating.
- Avoid thick coats: Thin, even applications usually give better control.
- Match the finish: The same colour in a different sheen can still look like a patch.
- Let the paint dry: Evaluate the colour only after the recommended drying time.
- Test a small area first: This helps you judge the colour and finish before continuing.
If the original wall has a roller texture, stippled finish, or decorative coating, reproducing that texture may require additional skill.
Common Mistakes to Avoid
Avoid these mistakes when repairing peeling paint:
- Painting directly over loose or flaking paint
- Ignoring leaks or dampness
- Applying paint before the wall and filler have dried
- Skipping surface cleaning and preparation
- Using an unsuitable primer
- Applying thick coats to hide uneven edges
- Assuming the same colour name guarantees an exact match
- Sanding old paint without considering lead or dust hazards
- Repeatedly touching up an area that continues to peel
Proper preparation is essential because paint applied over a weak or contaminated surface may peel again.
When Should You Repaint the Whole Wall?
Spot repair is not always the best solution.
Consider repainting a larger area when:
- Paint is peeling across multiple sections of the wall.
- The surrounding paint is also cracking, bubbling, or flaking.
- The existing colour has faded significantly.
- The repaired patches remain highly visible.
- The original coating is poorly bonded over a large area.
- Repeated touch-ups have not solved the problem.
If peeling covers extensive areas, removing failed paint and preparing the surface properly may be necessary before repainting. For persistent moisture, mold, major plaster damage, or recurring paint failure, consider professional help.
How to Prevent Wall Paint From Peeling Again
After repairing the damaged area, a few simple habits can help reduce the risk of future problems.
- Repair plumbing leaks and water entry promptly.
- Keep bathrooms and kitchens adequately ventilated.
- Inspect window seals and surrounding walls for signs of moisture.
- Allow repaired walls to dry fully before priming and painting.
- Use a primer appropriate for the surface.
- Follow the manufacturer’s instructions for paint application and drying.
- Check for recurring damp patches rather than covering them with another coat of paint.
For more home-care ideas, read our Monthly Home Maintenance Checklist and Things to Check Before Monsoon.
Frequently Asked Questions
Can I paint directly over peeling paint?
No. Remove loose paint first and prepare the surface. Painting over a loose layer may cause the new paint to peel along with it.
Do I need primer after removing peeling paint?
Primer is often helpful on exposed or repaired surfaces, but the right product depends on the wall material and existing coating. Follow the primer and paint manufacturer’s instructions.
Can I fix peeling paint with wall putty alone?
Wall filler or putty can repair small dents and uneven areas, but it does not solve moisture problems or secure loose paint. Remove unstable paint and prepare the surface before filling, priming, and painting.
Why does my wall paint keep peeling after repainting?
Recurring peeling can indicate unresolved moisture, poor surface preparation, unsuitable primer, or weak adhesion between coating layers. Investigate the cause before repainting again.
Will a touch-up look exactly like the original paint?
Not always. Colour changes, different paint finishes, texture, lighting, and ageing can make a repaired patch visible. A larger painted area may be needed for a more uniform appearance.
Can I fix peeling paint caused by dampness?
You must address the source of the dampness first. Allow the wall to dry and repair any damaged material before applying a suitable primer and paint. Persistent dampness may require a qualified professional.
Final Takeaway
You can often fix peeling paint on walls without repainting everything when the damage is small and the surrounding coating remains sound. Remove loose paint, smooth the edges, repair any minor surface damage, apply a suitable primer, and touch up with matching paint.
Most importantly, identify the cause before starting. If moisture, a leak, or widespread paint failure is responsible, fixing the underlying problem is more important than simply covering the damaged patch.
With careful preparation and the right products, a small repair can restore the appearance of your wall without turning it into a full-room painting project.