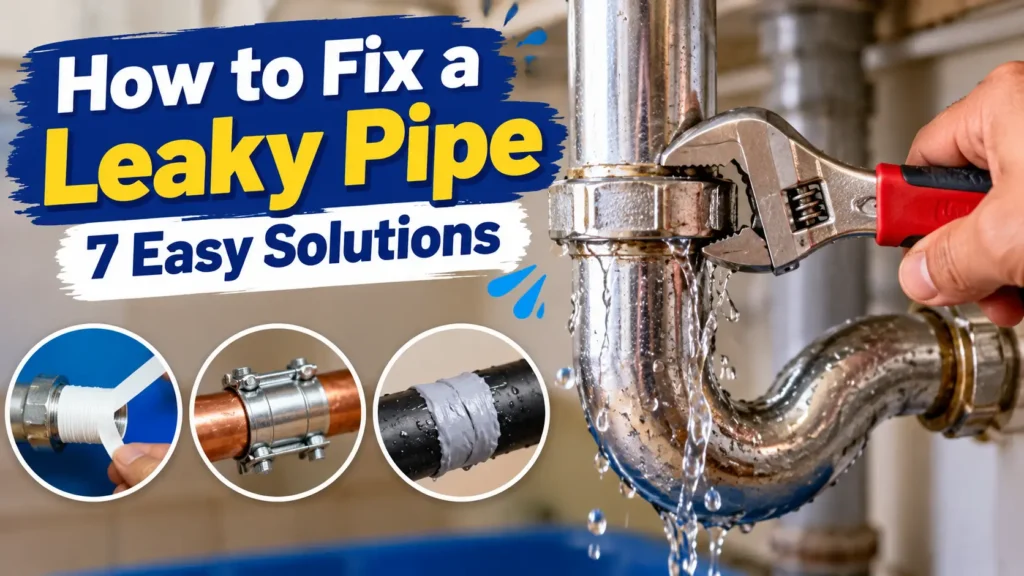
How to fix a leaky pipe depends on where the leak is coming from, how badly the pipe is damaged, and what type of pipe you have. A small leak around a connection may only need a new seal or a tighter fitting, while a cracked or badly corroded pipe may need a replacement section.
A leaking pipe should not be ignored. Even a small drip can cause water damage, stains, mold growth, or deterioration of nearby materials if it continues for a long time.
The good news is that some accessible pipe leaks can be repaired with basic tools and the right replacement parts. In this guide, you’ll learn how to identify the source of the leak and try 7 practical solutions, starting with simple repairs.
Why Is My Pipe Leaking?
Before repairing a leaking pipe, try to identify why it is leaking.
Common causes include:
- Loose pipe connections
- Worn or damaged washers and seals
- Cracked fittings
- Corrosion
- Damaged pipe sections
- Excessive pressure or movement
- Poorly fitted connections
- Damage caused by freezing or impact
The location of the water can also give you a clue. Water around a threaded connection may point to a fitting or seal problem, while water coming directly through the pipe may indicate a crack or hole.
How to Find the Source of a Pipe Leak
Before taking anything apart, dry the pipe and surrounding area with a clean towel.
Then:
- Turn the water back on if you have already shut it off temporarily.
- Watch the pipe carefully.
- Look for the first place where water appears.
- Check nearby connections and fittings.
- Follow the water upward because water can travel along the outside of a pipe before dripping somewhere else.
Don’t assume that the lowest or wettest point is the actual source of the leak.
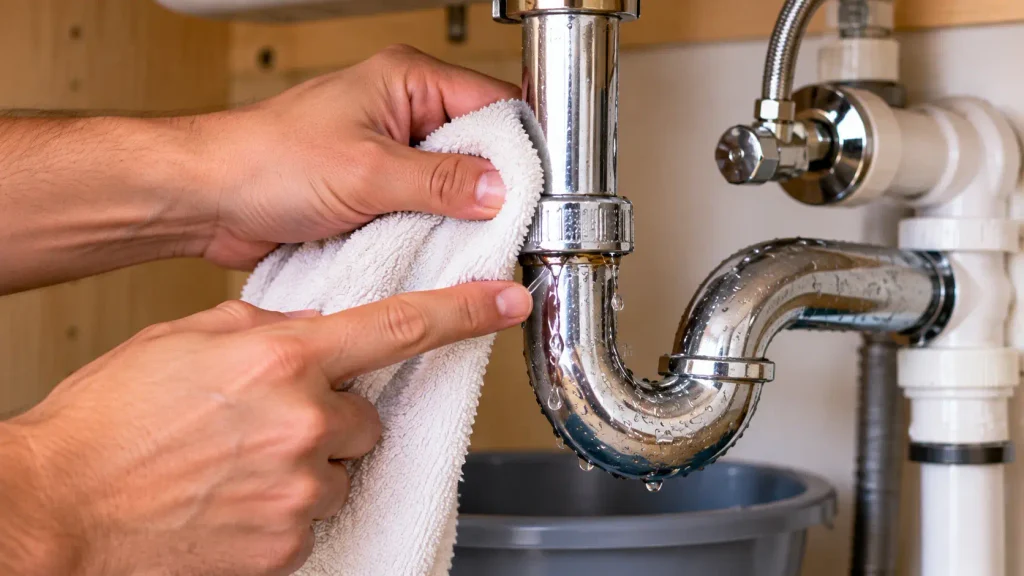
Once you’ve identified the source, turn off the water again before starting the repair.
The U.S. EPA WaterSense program provides additional guidance on finding and fixing household water leaks.
How to Fix a Leaky Pipe: 7 Easy Solutions
1. Tighten a Loose Pipe Connection
If water is leaking from a threaded connection or fitting, the connection may simply be loose.
First, shut off the water supply and dry the area.
Then:
- Hold the fitting securely.
- Use an appropriate wrench to tighten the connection carefully.
- If the fitting is already tight, do not force it further. The leak may be caused by a damaged seal, fitting, or pipe.
- Avoid excessive force.
- Turn the water back on slowly.
- Check the connection for another leak.
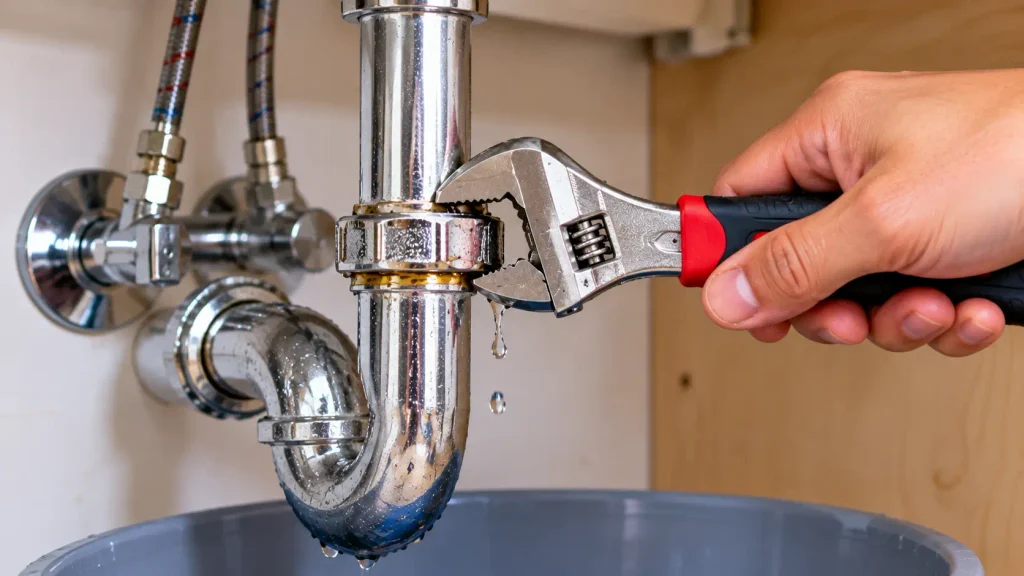
Don’t keep tightening a fitting if it becomes difficult to turn. Excessive force can damage some fittings or connections.
If tightening does not stop the leak, the seal, washer, fitting, or pipe may need further repair.
2. Replace a Worn Washer or Seal
Some pipe connections use washers, O-rings, or other seals to prevent water from escaping.
If the connection is leaking even though it is properly tightened, inspect the accessible seal.
Not every pipe connection uses a washer or O-ring, so identify the original sealing method before replacing the part.
A worn seal may look:
- Flattened
- Cracked
- Brittle
- Torn
- Misshapen
- Worn around the edges
How to replace it
Turn off the water and carefully disconnect the leaking connection.
Remove the old seal and clean the contact surfaces.
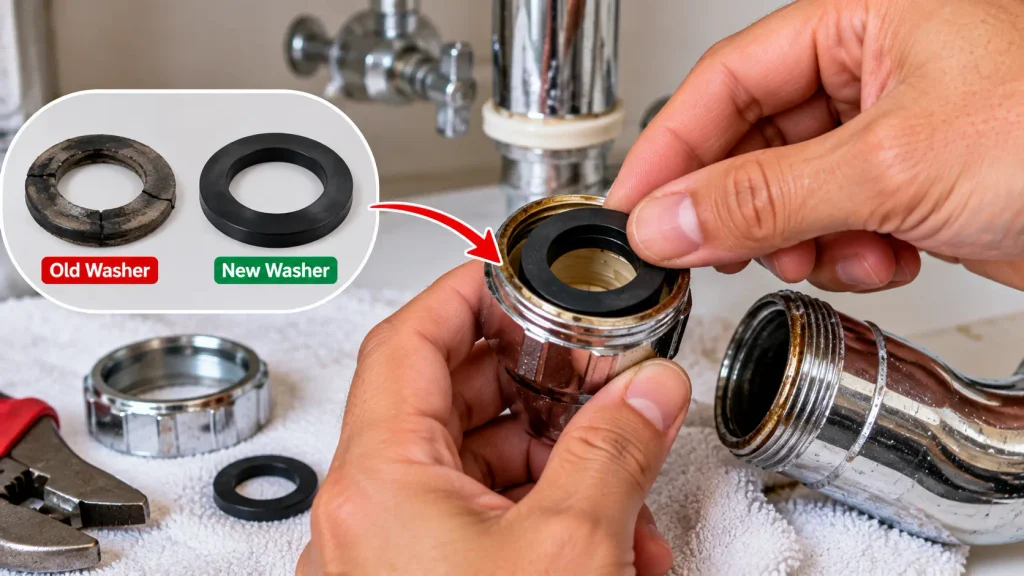
Install a matching replacement seal and reconnect the fitting.
Make sure the replacement part is compatible with your pipe and fitting before installing it.
3. Repair a Small Leak With a Pipe Repair Clamp
A pipe repair clamp can be useful for certain small leaks where the pipe itself has a localized damaged area.
A typical repair clamp fits around the damaged section and uses a sealing material to press against the leak.
Before using one:
- Shut off the water.
- Clean and dry the damaged pipe.
- Choose a clamp designed for the pipe size and application.
- Position it over the damaged area.
- Tighten it according to the manufacturer’s instructions.
- Turn the water back on gradually and check for leaks.
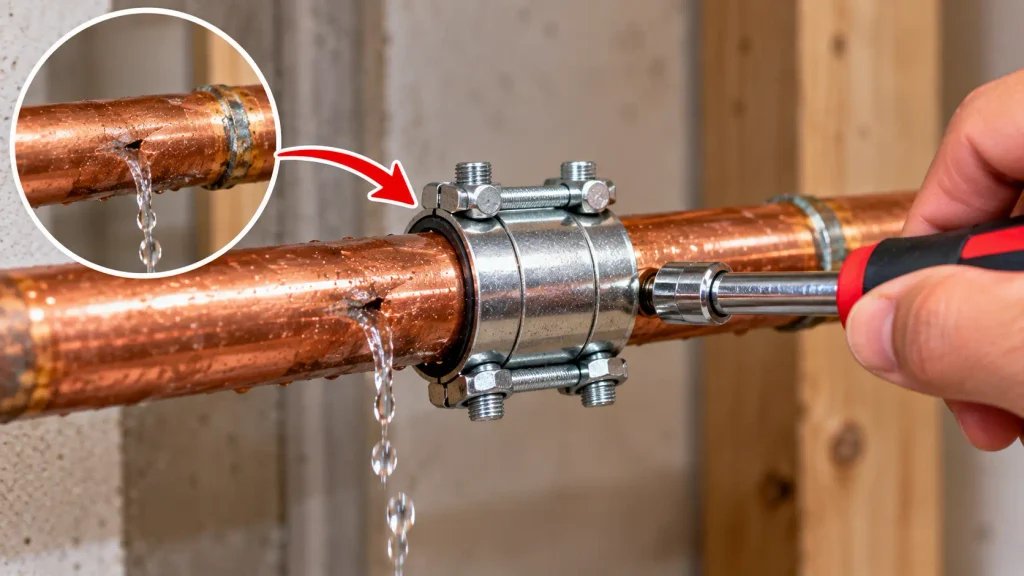
A repair clamp may be useful as a repair solution in suitable situations, but it should not be treated as the answer to every pipe problem.
Some repair clamps are intended for temporary repairs, while others are designed for longer-term use. Check the manufacturer’s instructions before relying on the repair.
If the pipe is badly corroded, cracked over a large area, or structurally damaged, replacing the damaged section may be more appropriate.
4. Use Pipe Repair Epoxy for a Suitable Small Leak
Some plumbing repair products are designed to seal small cracks or holes in certain pipes.
If you’re considering a pipe repair epoxy:
- Turn off the water.
- Dry the pipe completely.
- Clean the damaged area.
- Prepare the product according to the manufacturer’s instructions.
- Apply it only to a pipe and application that the product specifically supports.
- Allow it to cure for the required time.
- Test the repair slowly.
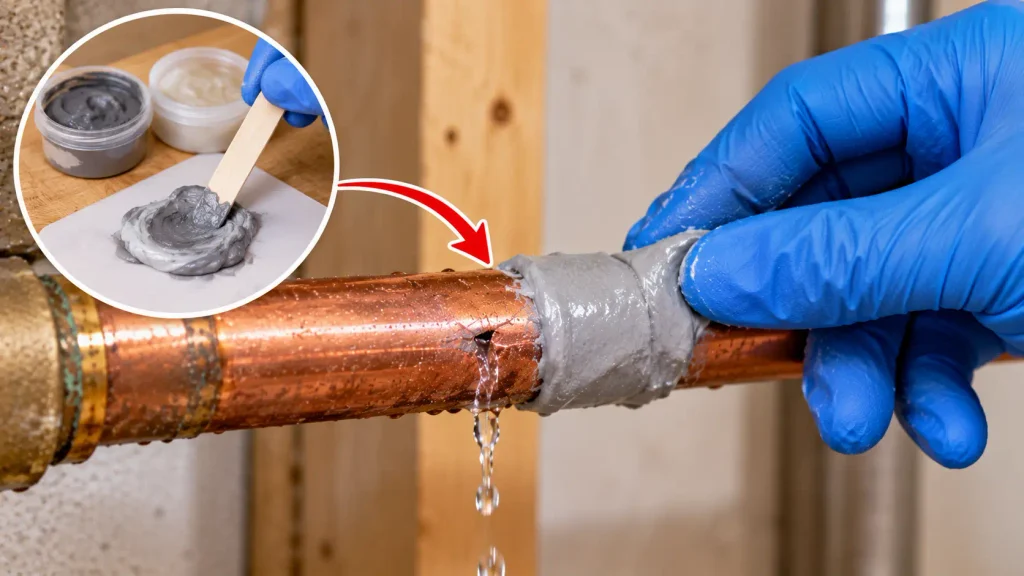
Tip: Turn off the water and dry the damaged area completely before applying repair epoxy.
Important
Not every epoxy or repair compound is suitable for every type of pipe, water system, or application.
Always check the product instructions before using it.
For a significant leak or damaged pipe, don’t rely on a repair compound when the pipe itself needs replacement.
5. Replace a Damaged Pipe Section
If the pipe has a significant crack, hole, or severe corrosion, replacing the damaged section may be necessary.
This repair is more involved because the damaged section has to be removed and replaced with compatible pipe and fittings.
Wear appropriate eye protection when cutting or removing damaged pipe, and make sure the water supply is fully shut off before starting.
The basic process is:
- Shut off the water supply.
- Drain the affected section if necessary.
- Measure the damaged portion.
- Remove the damaged section using the appropriate method for the pipe type.
- Prepare the replacement pipe and fittings.
- Install the new section according to the manufacturer’s or fitting instructions.
- Turn the water back on slowly.
- Check every connection carefully for leaks.
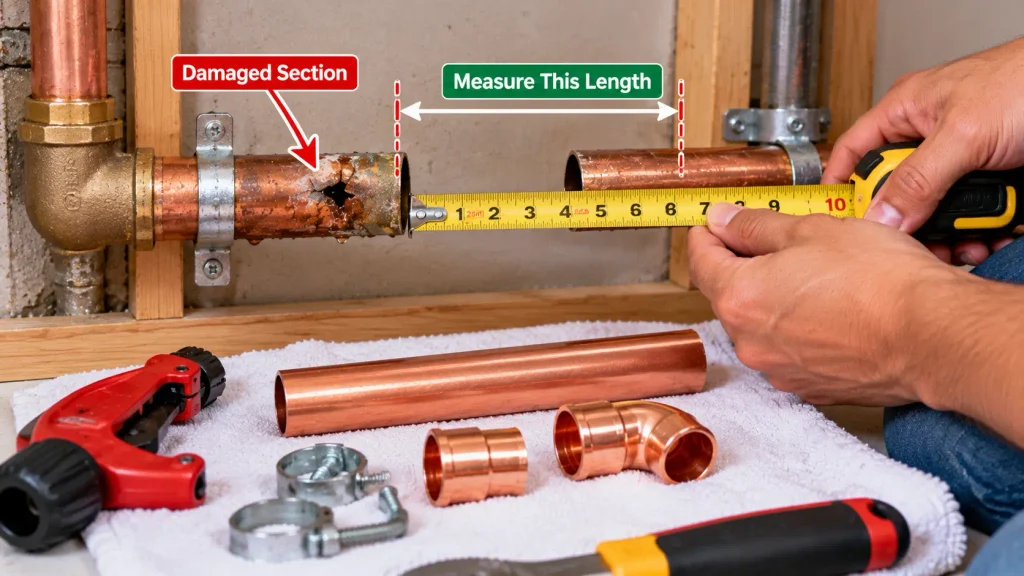
The exact repair method depends on the pipe material. Copper, PVC, CPVC, PEX, galvanized steel, and other systems use different fittings and installation methods.
If you’re not familiar with the pipe material or connection method, professional help may be safer than guessing.
6. Fix a Leaking Pipe Under the Sink
Leaks under a kitchen or bathroom sink are often easier to inspect because the plumbing is accessible.
Open the cabinet and check:
- Supply connections
- Drain connections
- Shut-off valves
- Flexible hoses
- Pipe joints
- The area around the sink drain
Place a dry towel or paper towel underneath the plumbing and run the water briefly.
This can help reveal exactly where the water is coming from.
If the leak is coming from a connection, check whether it is loose or whether a washer or seal needs replacement.
If you also have a dripping faucet, see our guide How to Fix a Leaky Faucet: Easy Step-by-Step Guide for another common plumbing repair.
7. Use a Temporary Pipe Leak Repair When Immediate Help Is Needed
Sometimes you discover a leak when you cannot make a permanent repair immediately.
A suitable pipe repair tape, clamp, or other product may provide a temporary solution, depending on the type and location of the leak.
Before using any temporary repair product:
- Shut off the water if possible.
- Clean and dry the pipe.
- Follow the product instructions.
- Make sure the product is designed for your pipe and application.
- Monitor the repaired area closely.
A temporary repair should not be treated as a permanent solution when the pipe is badly damaged.
If water continues leaking, the repair fails, or the pipe is deteriorating, arrange a proper repair or replacement.
How to Tell What Type of Pipe You Have
Before replacing a leaking pipe, identify the pipe material.
Common household plumbing materials include:
- Copper — usually metallic and reddish-brown
- PVC — typically rigid plastic
- CPVC — rigid plastic commonly used for certain water-supply applications
- PEX — flexible plastic tubing
- Galvanized steel — older metallic piping that may develop corrosion
Don’t choose a replacement fitting simply because it looks similar.
The replacement needs to be compatible with the existing pipe, fitting, water system, and connection method.
Common Mistakes to Avoid When Fixing a Leaky Pipe
Avoid these common mistakes:
- Repairing the pipe without shutting off the water
- Tightening fittings too aggressively
- Using the wrong replacement washer or seal
- Applying an incompatible repair compound
- Covering a badly damaged pipe instead of addressing the cause
- Ignoring corrosion
- Using a temporary repair as a permanent solution
- Replacing a pipe with an incompatible material or fitting
- Failing to test the repair slowly
- Ignoring a leak that keeps returning
The goal is not just to stop the visible water. You also want to address why the pipe started leaking.
When Should You Call a Plumber?
Some pipe leaks are not suitable for simple DIY repairs.
Consider getting professional help if:
- A pipe suddenly releases a large amount of water
- You cannot shut off the water supply
- The leak is inside a wall or ceiling
- Several pipes are leaking
- The pipe is badly corroded
- The floor or wall has significant water damage
- The repair requires specialized tools or pipe connections
- A repaired pipe continues leaking
- You are unsure which pipe or fitting you need
- The plumbing problem could cause significant property damage
If water is reaching electrical components, treat the situation as an urgent safety issue and avoid contact with wet electrical equipment.
How to Prevent Pipe Leaks
A little maintenance can help you notice plumbing problems before they become major leaks.
Check visible plumbing regularly
Look under sinks, around toilets, and near accessible pipe connections.
Don’t ignore small drips
A small leak can become worse over time.
Keep cabinets dry
If you notice moisture underneath a sink, investigate it instead of simply drying the cabinet.
Watch for corrosion
Rust, discoloration, or deteriorating pipe surfaces can be warning signs.
Check exposed pipes after very cold weather
If your area experiences freezing temperatures, inspect exposed plumbing for signs of damage.
Include plumbing in your monthly inspection
For a broader routine, see our Monthly Home Maintenance Checklist
Regularly checking your home for leaks and addressing them promptly can help reduce water waste and prevent damage
Frequently Asked Questions
Can I fix a leaking pipe myself?
Some small and accessible leaks may be suitable for DIY repair, particularly when the problem is a loose connection or replaceable seal. More serious pipe damage may require professional repair.
What is the fastest way to stop a leaking pipe?
First, shut off the water supply if possible. Then identify the exact source of the leak. Depending on the damage, tightening a connection, replacing a seal, or using a suitable temporary repair product may help.
Can I use tape to fix a leaking pipe?
Some pipe-repair tapes are designed for temporary leak repairs, but their suitability depends on the pipe material and location of the leak. Always follow the product instructions.
Should I replace a cracked pipe?
A significantly cracked or badly damaged pipe generally needs more than a simple surface patch. The appropriate solution depends on the pipe type, damage, and location.
Why does my pipe keep leaking after I repair it?
A recurring leak may indicate an underlying problem such as corrosion, movement, poor bonding, an incorrect fitting, excessive pressure, or an improperly prepared connection.
How do I know if a pipe leak is serious?
A large amount of water, rapidly increasing leakage, hidden leaks, significant water damage, or a leak near electrical equipment should be treated as a serious problem.
Final Takeaway
Fixing a leaky pipe starts with identifying exactly where the water is coming from and why the leak developed. A loose connection, worn seal, small damaged area, or accessible sink fitting may be repairable with basic tools and compatible parts.
For cracked, badly corroded, concealed, or repeatedly leaking pipes, a proper repair or replacement may be necessary.
Always shut off the water before working on a leaking pipe, use materials compatible with your plumbing system, and get professional help when the repair is beyond your experience.
A small leak is easier to deal with when you catch it early—so don’t ignore those first few drops.